
Invoicing
Ornavi lets users create, edit, generate and manage all your invoices in a quick and efficient manner. Read on for more information.
Create an Invoice
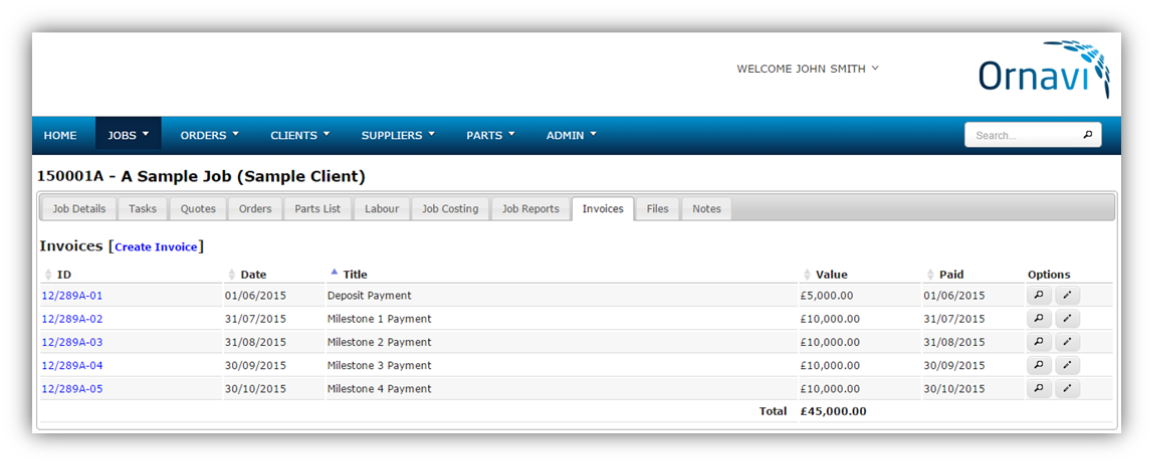
Invoices are created from within the Job Folder. When a job is ready to be invoiced, open the Job Folder and navigate to the Invoices Tab. From here, click [Create Invoice] to create a new invoice.
Invoice Information
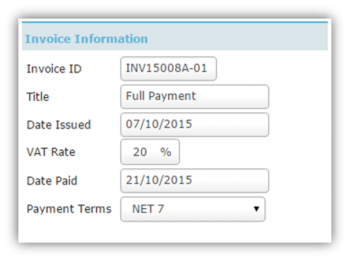
 Ornavi automatically generates a unique invoice ID for each invoice created in the system. This can be edited if necessary. For example, to tie up with an existing accounts package.
You can give your invoice a title if you wish. This will make it more noticeable in lists and reports and can be used when generating the final Invoice document.
The Date Invoiced field will automatically fill out with the current date but click on the box to show the calendar and change the date if necessary.
The VAT rate can be determined per invoice but the default rate can be configured in the Company Settings.
The Date Paid field is used at a later date to mark the invoice as ‘paid’ in the system.
Client Address
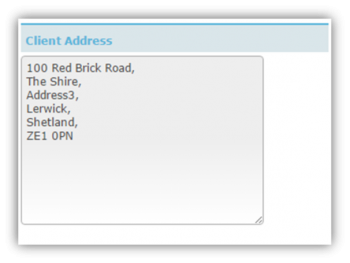
This will fill out with address of the client associated with the job but can replaced with another address if need be. This information can be included on the final Invoice document.
Notes
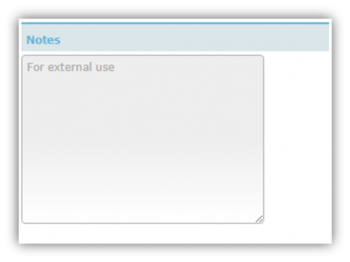
Extra information concerning the invoice can be recorded in the Notes section. These can be included on the final Invoice document.
Optional Items
Listed in this section is information from other tabs of the job folder that you can add as an item to your invoice, saving you time. These are Quote Sheets, Labour, Expenses and Parts.
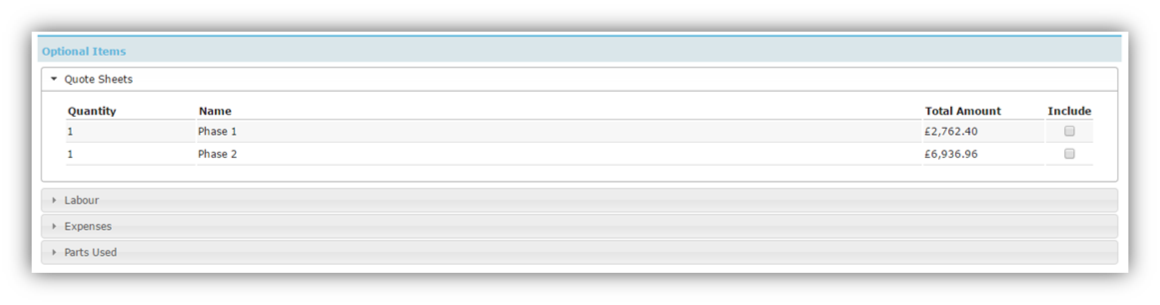
To include an item in your invoice, simply click the the tick box in the Include column. It will then appear at the bottom of the page in the Invoice Items section.
Invoice Items
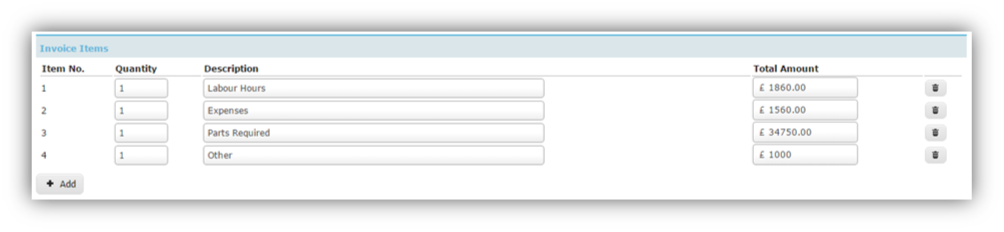
Any items ticked in the previous section will be listed under Invoice Items. However items can also be included on an invoice by entering them manually. All that is required is a Quantity, Description and Total Amount.
| Click this icon to remove any items from the invoice. | |
| Click this icon to add another item line to your invoice. |
Click Submit once you are finished creating your invoice.
Find an Invoice
There are several ways you can locate an invoice in Ornavi:
- Any invoice created for a specific job can always be located within that job folder, under the Invoice tab.
- Use the Invoices Quick Link available from the Homepage. Then use the filters to narrow down your search.
- Use the Gobal Search box on the right hand side of the menu bar. Simply type 3 characters or more and the system will scan through all your records and return any matching results – a bit like Google!
Edit an Invoice
To edit an invoice you must first locate it in the system (see above). There are two options for opening the invoice edit screen:
![]() On any invoice list, notice the Options column on the right hand side. Here you will see an Edit icon that looks like a magnifying glass. Clicking this will open the invoice edit screen.
On any invoice list, notice the Options column on the right hand side. Here you will see an Edit icon that looks like a magnifying glass. Clicking this will open the invoice edit screen.
![]() If you have clicked on an invoice to view it, your option to edit moves to the top of the screen alongside the title. Clicking this will open the invoice edit screen.
If you have clicked on an invoice to view it, your option to edit moves to the top of the screen alongside the title. Clicking this will open the invoice edit screen.
Once you have finished making any changes to the invoice, click Submit to save.
Delete an Invoice
Before deleting you should be certain you actually want to delete it because it is not possible to undo.
![]() If you are sure you wish to delete an invoice then first find the correct invoice (see above) and click the Delete icon located on the right hand side of the page.
If you are sure you wish to delete an invoice then first find the correct invoice (see above) and click the Delete icon located on the right hand side of the page.
Generate an Invoice
Ornavi allows you to output your invoices using professional templates, that are ready to send on to the Supplier. A default template is already in your system, read below to find out the different ways you produce you Invoice document.
Generate as PDF
To produce a finished invoice in a PDF format, first open the invoice and then scroll to the bottom of the page. You will notice a box called Generate From Template.

Click the drop down to view all available templates. Click the option Generate as PDF. This will prompt your final document to open in another page, which can then be saved or printed. Be sure to upload your logo to Ornavi so that it displays on the PDF.
Generate as Word Doc
To produce the invoice in an editable format (e.g. Word Doc), first open the invoice and then scroll down to the bottom where you will see the Generate From Template box.
The drop down will contain a default template. Click the Generate button and the document will open in another page from where it can be edited, saved or printed. Be sure to edit your template first so that it includes your logo and any other required detail.
Generate using a Custom Template
You can completely customise the look and feel of your Invoice template and an in-depth guide of how to do this can be found in Settings help. To upload a template, on the main menu bar click on Admin, System Settings and then Document Templates.
Once you have done this, you can generate your invoice using this new template by first finding the invoice and then scrolling down to the bottom of the page where you will see the Generate From Template box.

The drop down will contain the default template, so be sure to select the correct template. Click the Generate button and the document will open in another page, and it can now be saved or printed.
You can upload as many templates as you wish.
Duplicate an Invoice
Existing invoices can be duplicated within the job folder to save time. This is useful for jobs that have recurring payments. Open any invoice and you will find a [Duplicate] option at the top alongside the [Edit] option.

Once you click the Duplicate link you will be taken into the edit screen so you can make amendments.