
Tasks
Each Job you add to the system can be broken down into steps called Tasks which can be found in the Tasks tab of any Job Folder. Tasks can be given start and due dates/times, be allocated statuses, record progress, send out automated emails and much more. Let’s take a closer look.
Create a Task
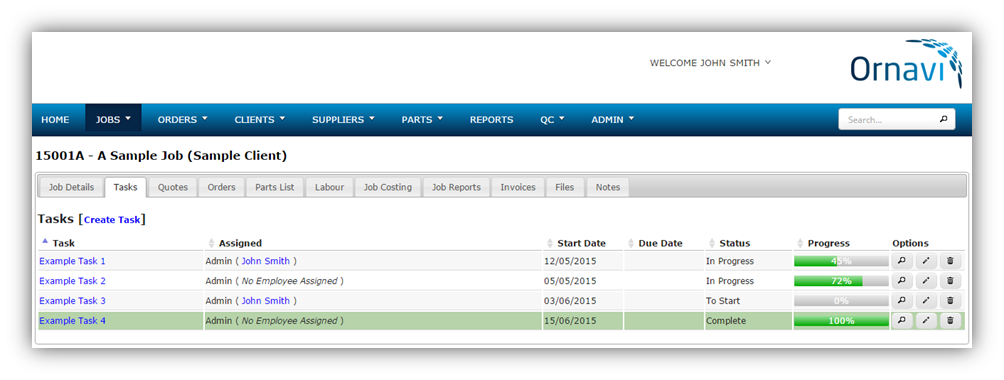
To create a task, open the job folder that you wish to create a task for and navigate to the Tasks tab. Next to the heading click [Create Task].
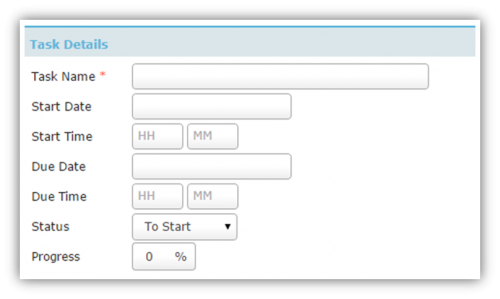
 First give the task a recognisable name so that it is easily found in lists and reports.
You can choose to schedule tasks by date, time or both.
Assign a status to to record the progress of the task. Each status has a corresponding colour in the Tasks Calendar. You can enter a percentage as another way of tracking the progress. This can be edited as many times as necessary.
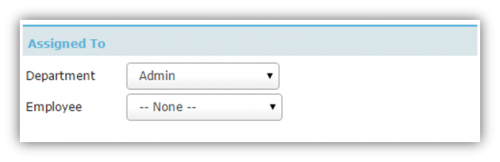
The Department drop down is comprised of all the departments within the company that have been set up in Admin. Select the dept that is required.
The Employee drop down is a list of all the Users in the system. The selected employee will receive an email notification and the task will appear on their homepage under My Tasks.
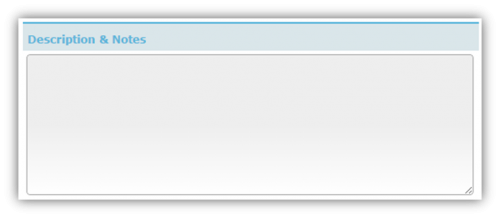
Use the Description & Notes box to record any info about the task and any other notes that should be included.
Once you are done, click Submit and you will see a summary of the task. Press the back button on the top right to return to the main Tasks Tab view.
Duplicate a Task
Existing Tasks can be duplicated to save time. Open the Task tab of any job and click on the Title of the task you wish to duplicate. This will open the task. From here you will find [Edit] and [Duplicate] options at the top alongside the Task Title.
Once you click the [Duplicate] link you will be taken into the edit screen so you can make amendments.
Edit/Delete a Task

If you navigate to the Tasks tab of any job. On the right hand side you will see an Options column containing buttons.
The buttons allow you to View, Edit or Delete. Hover over an icon to learn what it does.
Task Tools
There are various tools throughout Ornavi that you can use to view the Tasks either for yourself, particular users, departments, offices or the entire company.
Homepage
Every user is greeted by their own personalised homepage when they log on. From here users can see a detailed overview of their current workload as well as any tasks they have been assigned.
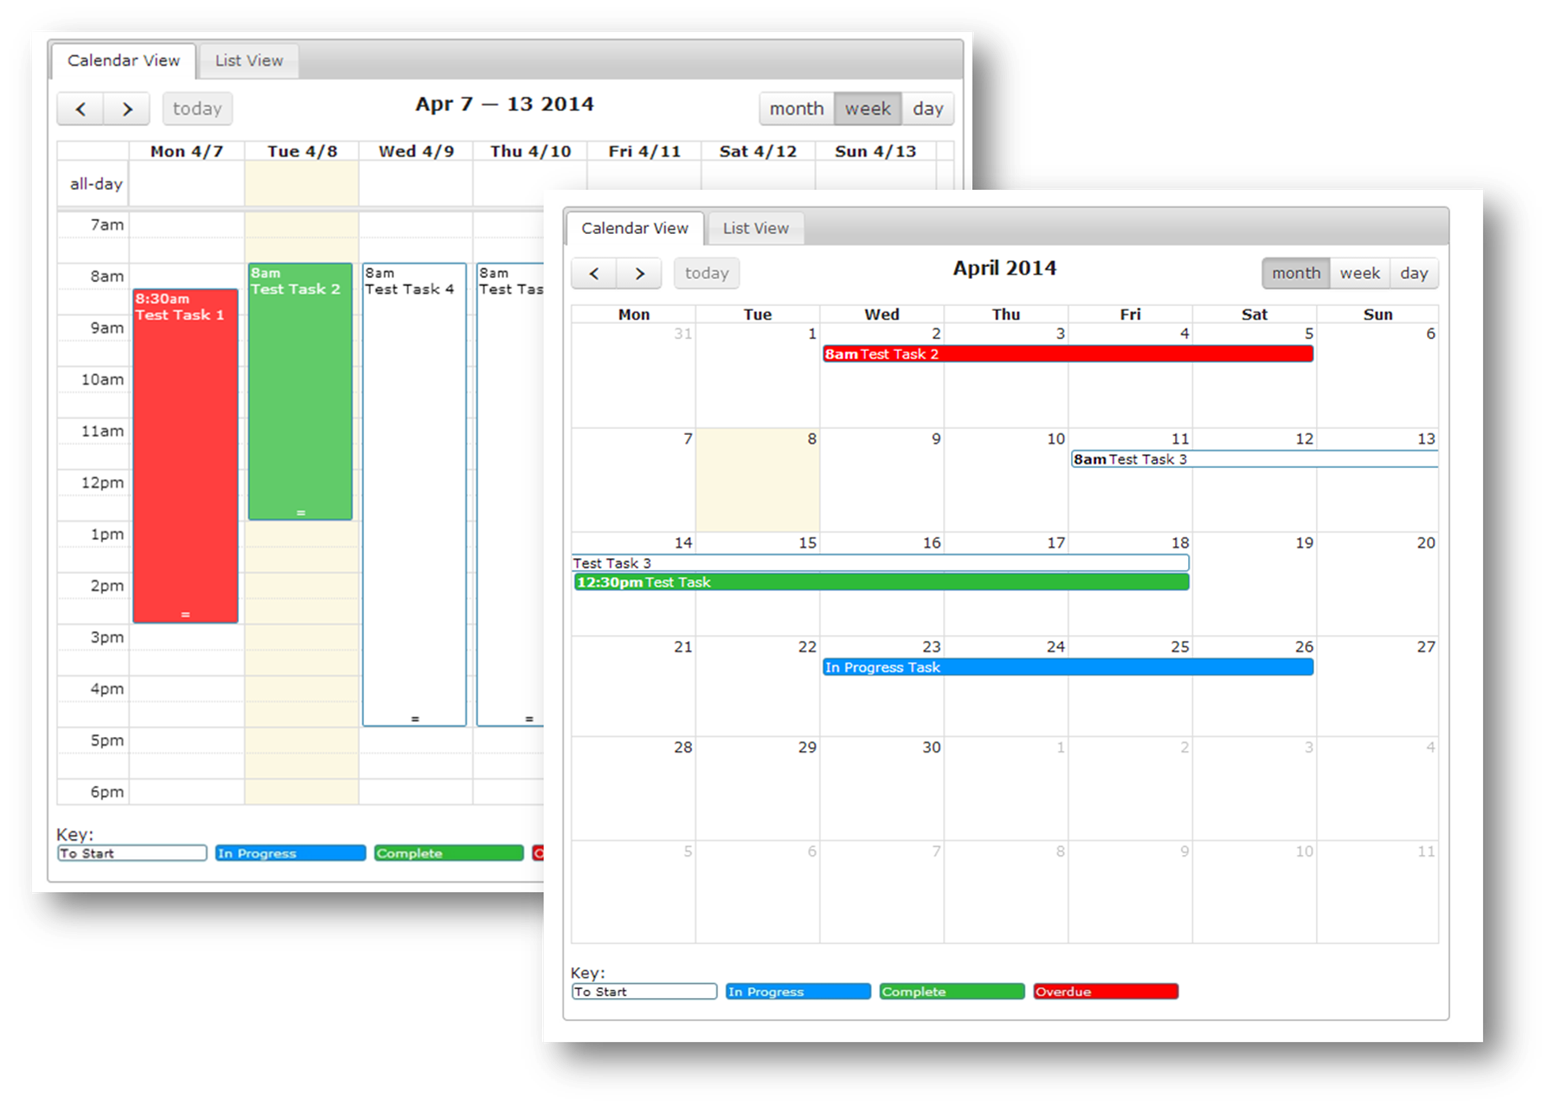
Users can choose to view their assigned tasks in Agenda View or Calendar View using the Tabs at the top left of the calendar. The system remembers your previous display choice, so whichever you have selected when you navigate to another page/log off, is the view you will see when you return to the Homepage.
The calendar can be toggled between a daily, weekly or an entire month view using the buttons on the top right of the Calendar. All tasks are colour coded based on their Status – you will find the key at the bottom of the calendar. To change the start or finish time/date, hover your mouse over the begining or end of the bar to display a double arrow. Hold down your mouse and drag it to edit. You can reschedule entire tasks by clicking anywhere on the task and dragging and dropping it into a new slot.